Appearance
GoToWebinar Integration
Everything about the GoToWebinar integration into the LMS.
Sync Webinar to a Course
First you would need to get the webinar key. For this, feel free to log into the GoToWebinar Dashboard. There, click on any existing Webinar or create a new one. In the URL, you now can find a number. That is your needed webinar key.
From, there you can go to the Strapi LMS -> Courses. Click on a course and scroll down, where you can enter the webinar key. If you hit Publish/Save a new button will appear called Sync with GoToWebinar.

Click on this button and general information like poll, survey and question data will be synced to the CMS and the webinar will be attached to the course itself. Keep in mind, that at this point no attendee data was synced, yet.
Sync Webinar Attendees
After the previous step was completed, you now can sync Attendee/Attendance data. For this, a new button has appeared called Check Attendance. Clicking on it will open new dialog window with further information.
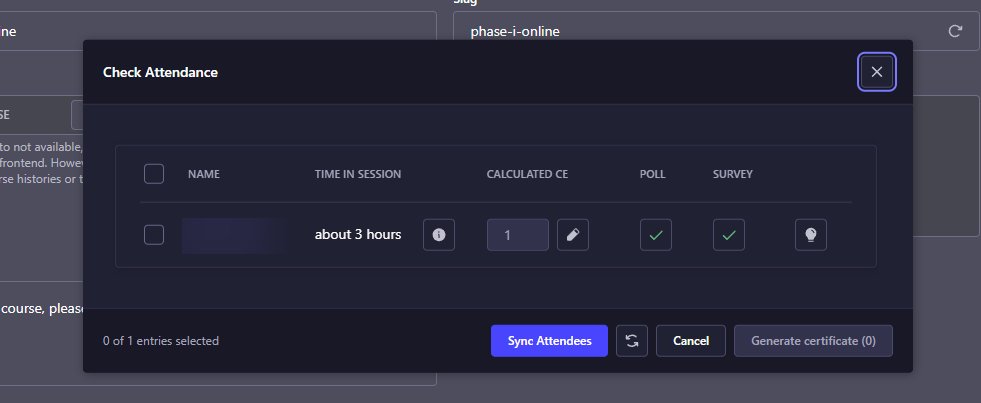
With the Sync Attendance button, you can now sync all attendee data like their polls, surveys, questions, joined sessions and more! Afterwards you can easily look through various statistics for every attendee.
INFO
You will only see data after a webinar session is available. Also, there is only attendance data available for attendees, who registered for a webinar via our system.
To get more detailed statistics you can click on the lightbulb button. A new dialog will open with more details about the attendee.
Generate certificates for attendees
Ideally, with these statistics, you can evaluate if an attendee is eligible to receive a certificate. To do this, you can check the checkbox for every attendee you would like to grant a certificate for. Before that, you are also able to set the CE value or leave it at the system calculated value.
INFO
Calculated CE value: let's assume a course grants 1 CE at max. And let's assume an attendee joined the session for 30 minutes. That would mean, the system will calculate the CE as 0.5, since the attendee was there only half the time. However, if the attendee was there for 70 minutes, the system will still only calculate the CE as 1.
After you selected all desired attendees, you can click on the Generate certificate button to generate certificates for all selected attendees. This will also set the respective user courses as Completed in our system.
Set correct poll answer in the CMS
For the system to show if an attendee did all the polls correctly, the system first needs to know what poll choice is correct. In cases, where the poll only had one choice and the attendee answered the poll, the system will assume it is the correct answer.
In cases, where the poll has multiple choices, you need to set the correct choice beforehand. To do so, you can go to the course where the webinar was synced to previously. Click on it, a dialog will open where you will find all the webinar's polls.
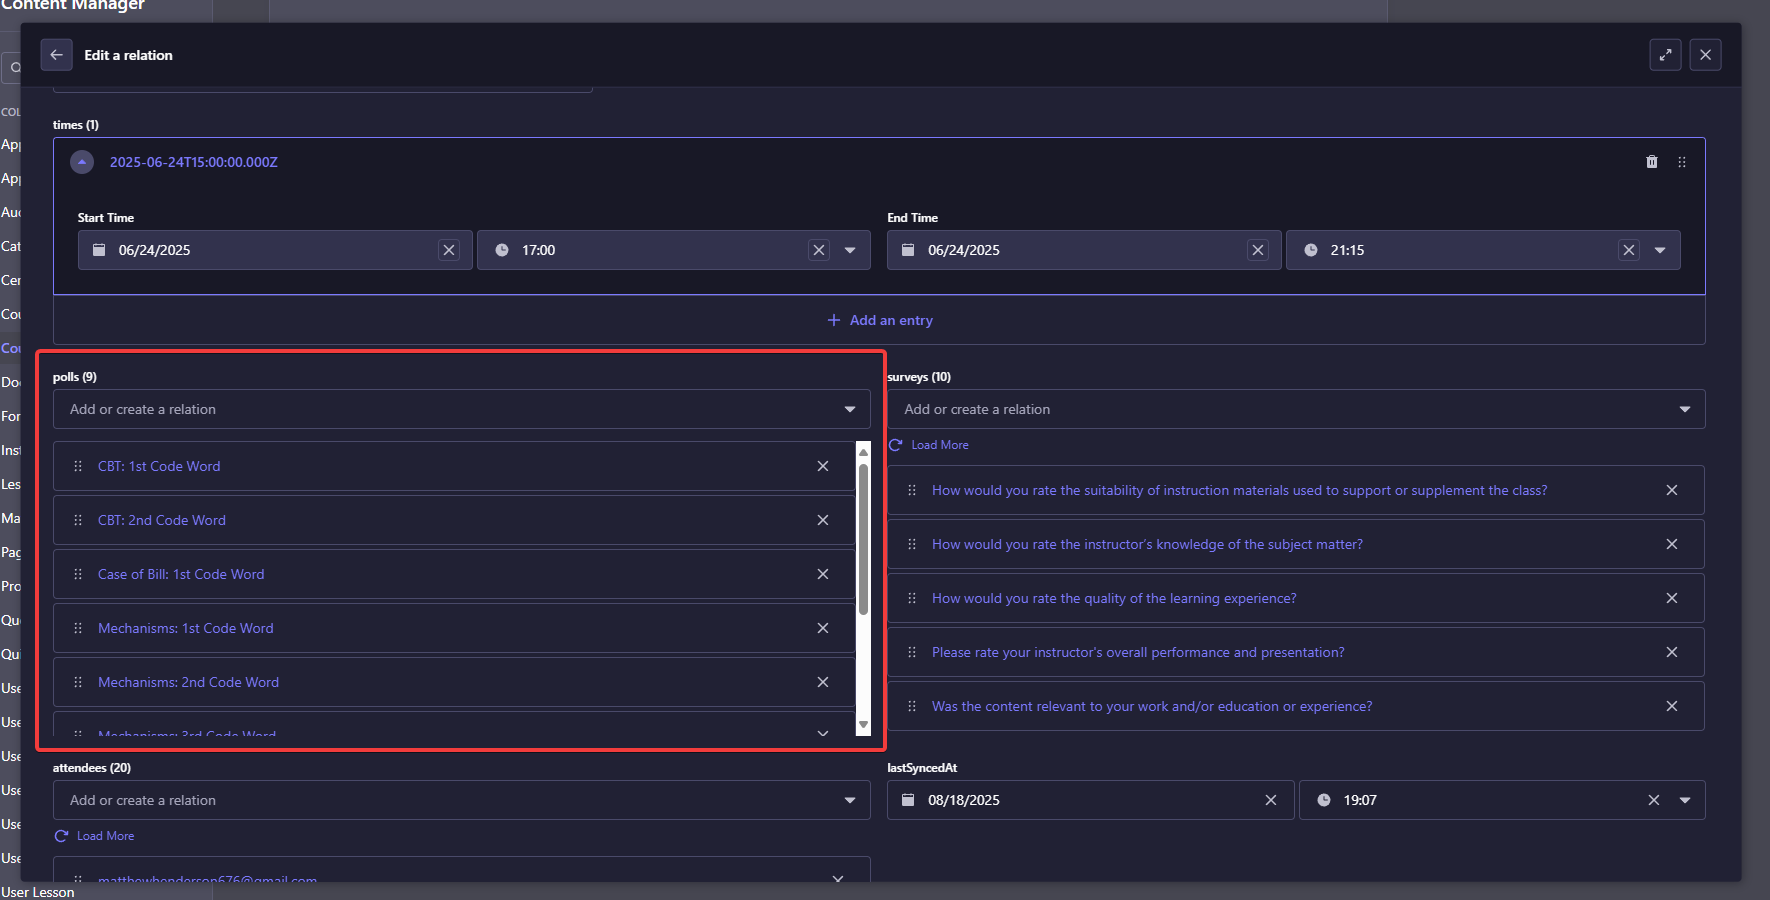
Click on one of the polls. There you will see all the responses and a checkbox called Is correct for each response. Check the correct response and click on Save on the top right. You would need to do that for all the other polls as well. Now the system is able to determine if an attendee did the polls correctly.